 |
| Workstation. Yes - I put stickers on my printer - mostly all for ski related products! |
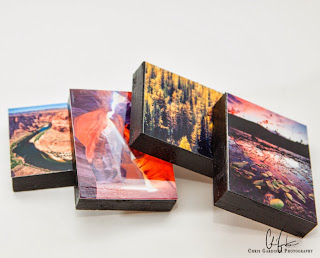
Have you been to my Etsy shop yet? Go do that, I can wait. I want to show you how I put together the blocks that I have been selling there. This is a post for those interested in making something similar with their own images, and for those potential customers from Etsy who want to see how I prepare the product. This is for all of you!
2. Print your images at appropriate sizes. Conveniently, the sizes and amounts I chose, all fit on a single 13"x19" poster paper which I use.
 |
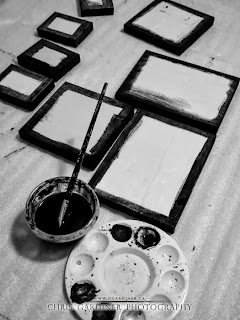
| All four edges are painted black, and into the picture area, incase of mis-trimming. |
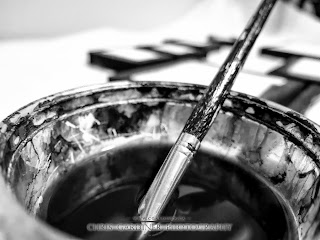
3. While printing, beging painting your blocks - either handmade or purchased. Start with three sides, move onto the next. By the time I finish the eighth, the first is ready to have it's fourth side painted with a dry side for me to grab it by.
4. Paint a bit to the display side, sometimes images get cut small, or blocks are slightly larger than intended.
5. Allow all paint to dry
6. Get adhesive ready, coat blocks and immediately attach the image. I've been experimenting with adhesives.
7. Press your adhered photo, printed side down on a carpet, with a protective layer of regular paper between. The carpet applies more even pressure than a flat surface will in this case. Also a double folded bed sheet or something similar will work if you don't have carpet in your place.
8. Thin coat of spray varnish. I do this because my glaze must have some water in it and causes the print to lift and wrinkle if it is not varnished first. Varnish adds a layer of water resistance which keeps it from lifting and bubbling.
9. Take your glaze on a good wide brush, and with even, flat strokes move horizontally. Allow to dry.
10. Take your glaze with a good brush and same as before but move perpendicular to your stroke before - aka vertically.
11. Repeat steps 9 and 10 one more time each.
12. You are finished! I did the batch of 8 I mentioned above in about 30 hours with drying times.
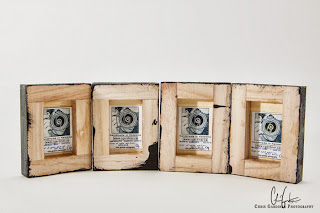
13. In my case, since they are for sale, I affix backings to them that state the edition that copy is, and any other pertinent info regarding the image itself!
 |
| 4x3's with the backings on them. |
Have fun mounting your own photos!
C Gardiner Photography | Promote Your Page Too


